# |
Step |
Output |
1 |
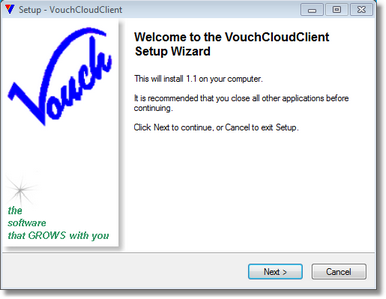
Download VouchCloudClient installer and install. The first screen you will see is on the right. Follow the instructions explained below.
Click <Next>... |
|
2 |
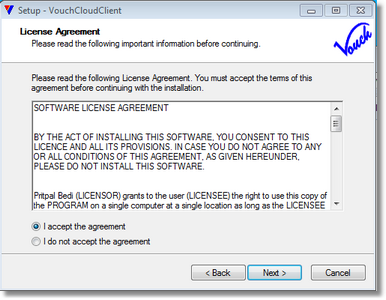
Accept the license agreement.
Click on <Next>... |
|
3 |
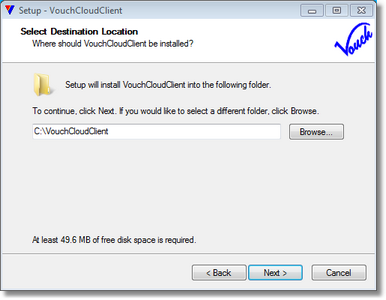
Keep the default installation folder location or change it via clicking on <Browse> if you so wish. Recommended practice is to keep the default having sole purpose of
Click on <Next>... |
|
4 |
Keep start menu folder as is.
Click on <Next>... |
|
5 |
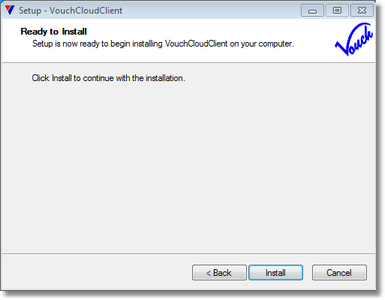
It is final call before the installer actually installs VouchCloudClient binaries on your system.
Click on <Install>...
Installer will run a progress-bar but finishes so quickly that screen capture becomes impossible. |
|
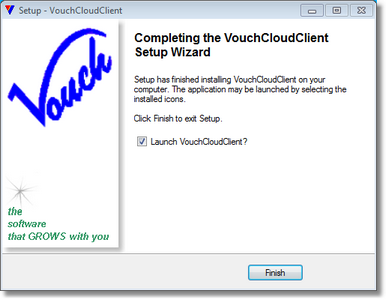
6 |
Last screen of the installer. Launch VouchCloudClient checkmark is ticked by default which will launch the client, but you can untick it if you so wish.
Click on <Finish>. |
|
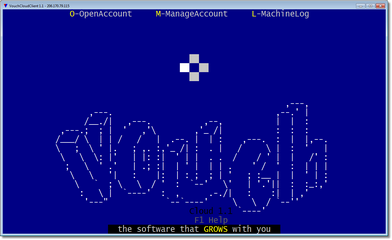
7 |
If "Launch VouchCloudClient?" checkmark is ticked on the above screen, you will be presented with entry screen of VouchCloudClient. Read the next section <How to Open a New Account>. |
|
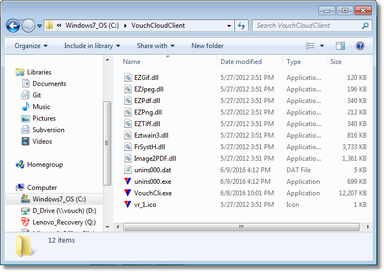
8 |
VouchCloudClient installer does not do anything with Windows registry. It just installs the binaries into a specified folder. The install also creates a desktop icon. You have the convenience to execute the client by clicking on the desktop icon or clicking on VouchCli.exe inside the explorer.
After installation, if you explore the install folder, you will see the contents like shown on the right. |
|
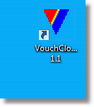
9 |
Desktop icon created by the installer. Clicking this icon or "VouchCli.exe" in the install folder will execute VouchCloudClient and welcome screen will be like step#7. |
|