# |
Step |
Output |
1 |
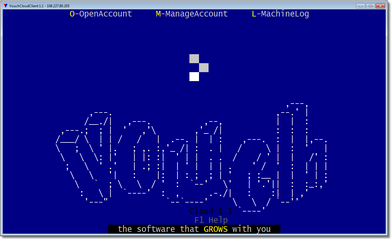
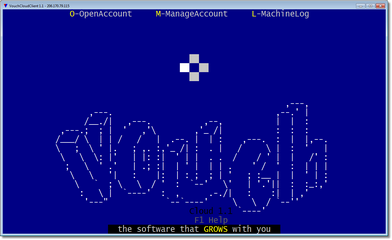
When VouchCloudClient is invoked, either by clicking on desktop icon or by executing VouchCli.exe inside install folder, you will be presented a welcome screen.
A wait state or 4 seconds will remain in effect, duly echoed by a moving square, before client will enter default mode which depends on others factors (read below). In wait-state period you can invoke any of the following modes:
1. O - Open a new account - Press the letter "O" for this mode to take over. 2. M - Manage and existing account - Press "M" to enter this mode. 3. L - Create a log file of this machine - Needed to bound client .key with this machine for accessing Vouch.
If none of the hot key, O, M or L, is pressed withing waiting period of 4 seconds, VouchCloudClient enters the default mode. Default mode is determined by following factors:
1. If there is no client .key present in the install folder, VouchCloudClient enters "Open a New Account" mode.
2. If there is one or more of client .kay(s) are present in install folder, VouchCloudClient enters "Execution" mode. Execute applying which key depends on following factors:
1. If there is only one client .key present in install folder, that .key is applied to access Vouch. 2. If more than one .key(s) are present, then a list of .keys is presented on the screen to choose from. Navigating to a key and selecting one by pressing <Enter> will apply selected .key to access Vouch.
Since we are about to open an account, do nothing, we will automatically enter into "Open a New Account" mode. |
|
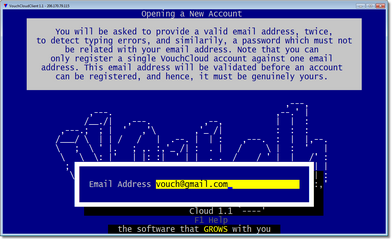
2 |
You will be presented with VouchCloudClient's interface like the one displayed on the right.
Type-in the email address you own and is valid. The given email address will be validated before your account is activated. So be careful that you are providing the genuine address.
Email address is case insensitive. You can use any case.
Note that only one VouchCloud Account can be registered against a single email address.
Also note that some email providers do not standardize the email header which makes it difficult to parse and hence leads to failure in validation process. It is observed that mails sent from Hotmail, Gmail, Yahoo are good and never fails. Mails sent from Rediffmail always fails. So make sure that mail-box you are using to register VouchCloud account is from a standradized provider. |
|
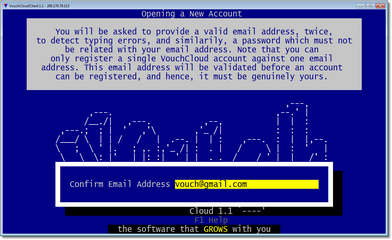
3 |
You will be asked to re-type the email address, just in case you mistyped. |
|
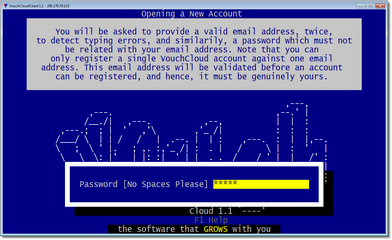
4
|
You will be asked to provide password for your account, which would be confirmed on next screen as was done with email address.
Make sure that you provide a password which you do not use on any other sites, including your email(s). This password is independent of your email password. The password cannot be changed in the future. To manage VouchCloud account in future you can access this control-panel only through provided email address in previous step and this password.
Password is case sensitive, so make sure that you remember it properly when needed next. |
|
5 |
You will be asked to confirm password. Provide exactly the same password you entered in the previous step. |
|
6 |
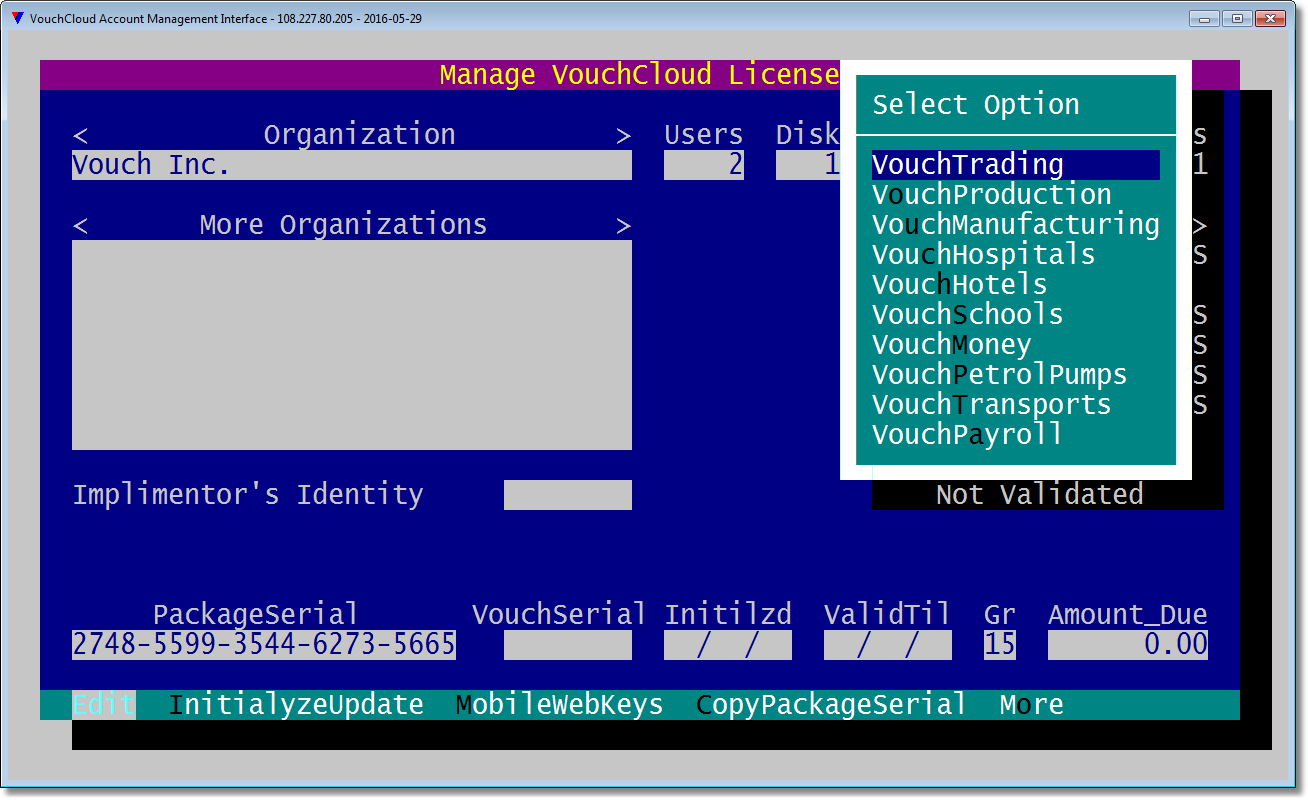
You have reached the VouchCloud Account Management Interface (VCAMI).
We will be referring to VouchCloud Account Management Interface as VCAMI in further conversations.
VCAMI is the only place from where you can open a new account, make changes in an existing account, setup mobile and/or web access to your data, etc. It will be helpful if you go through the image at the right to understand its various parts.
Whenever you reach VCAMI cursor is staying at the <Edit> option of bottom-line bar menu. You can invoke either of the option in two ways:
1. Move left-or-right arrow key to reach the option and then press <Enter>, or 2. Press highlighted letter of the option. |
|
7 |
Press <Enter> while staying on <Edit> option of menu at the bottom. VCAMI has enabled the editing fields.
Start typing-in "Organization" name. and then select a Vouch "Vertical" from a drop-down menu. If you want, you can provide more organizations. You can add more organizations in future also, so you need not to be in hurry.
You will not be asked for any other attribute. For free-tier offer those are fixed as shown on the panel, which for all practical purposes is enough. |
|
8 |
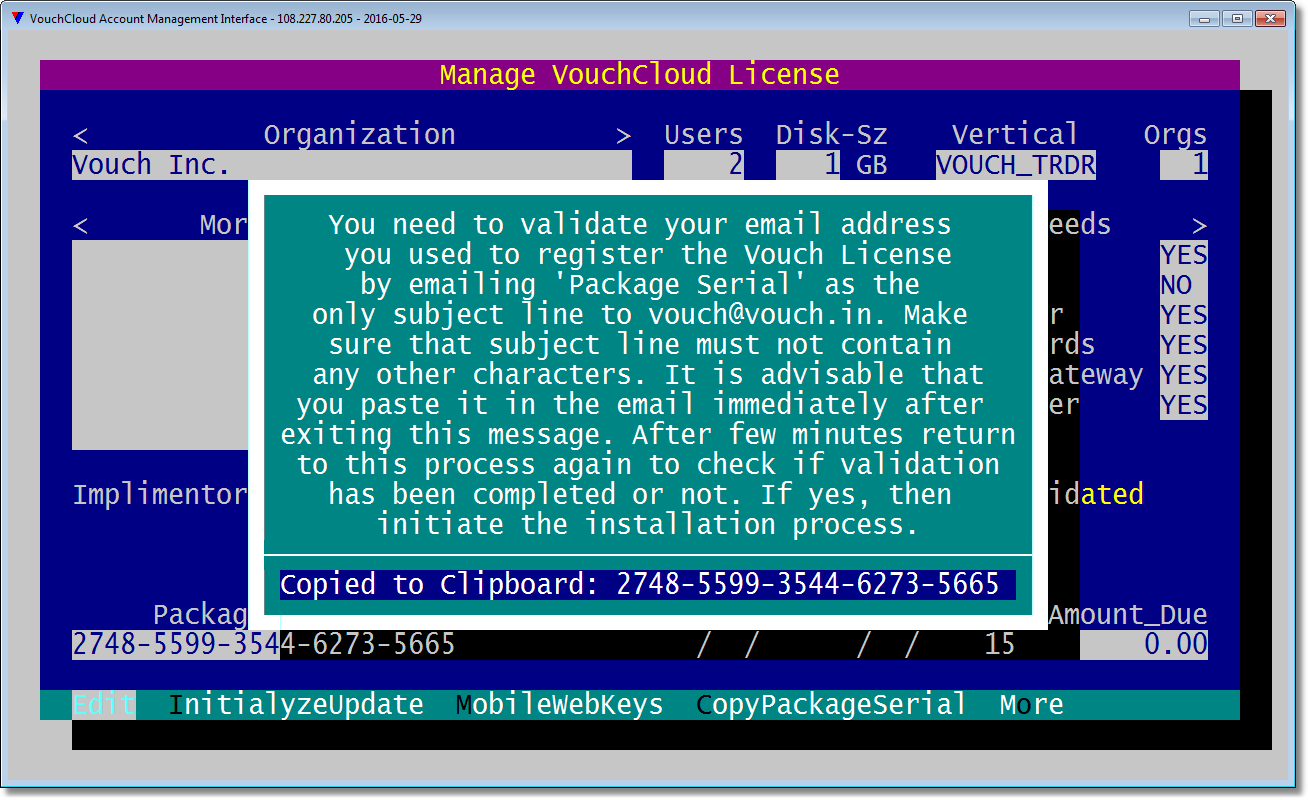
Your organization(s) name(s) and available parameters are saved on Vouch Servers. You are notified that you need to send an email from the email box which you provided while opening the account, filling in the "Subject" field with Package Serial displayed on the VouchCloud console. No other information, whatsoever, should be added in the "Subject" field. For your convenience the Package Serial has been copied to the clipboard. You are encouraged to send email by pasting clipboard contents in the "Subject" field of email.
Come out of VouchCloudClient at this stage. Wait for few minutes to get your email address be populated and validated by Vouch. |
|
9 |
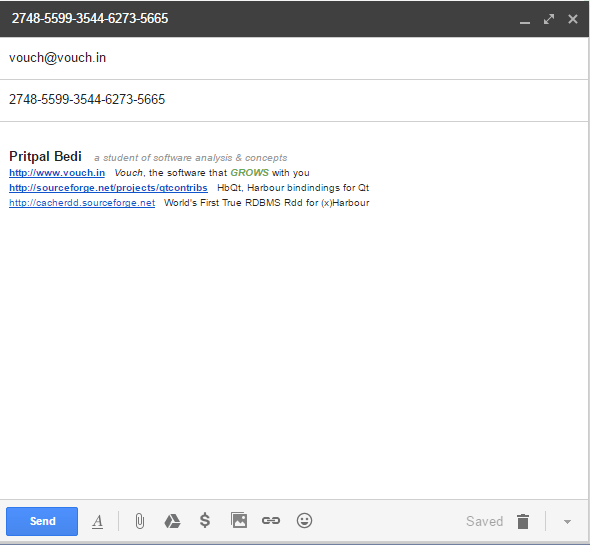
Send an email from the inbox of email address you provided in step#1 and paste "Package Serial" as the only text in "Subject:" field of email interface and send to vouch@vouch.in. "Package Serial" has been copied to the clipboard which you can paste in the Subject: line of email interface. You can leave the email body blank as it is not used for email validation.
Wait a few minutes and then follow <How to Manage Your Account>. |
|