# |
Step |
Output |
22 |
Invoke VouchCloudClient, either by clicking on desktop icon or by executing VouchCli.exe inside install folder, you will be presented with welcome screen.
Do nothing. After 4 seconds VocuhCloudClient will automatically enter "Execution" mode. VocuhCli_KARMNAAE.key will be applied to reach to Vouch interface. Since, at this point of affairs we only have one .key inside install folder, we are not presented with a list to select one. |
|
23 |
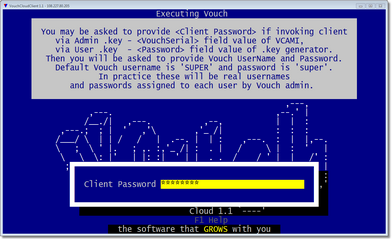
You will be asked for client password.
NOTE: Client password for administrative key is always the value shown in <VouchSerial> field of VCAMI. Please refer to step#20-21. |
|
24 |
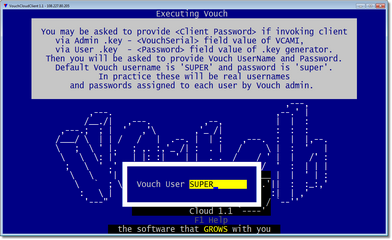
Enter Vouch username. This is "SUPER" at startup while opening a new account. |
|
25 |
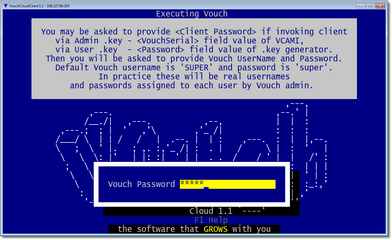
Enter Vouch password. This is "super" at startup while opening a new account. |
|
26 |
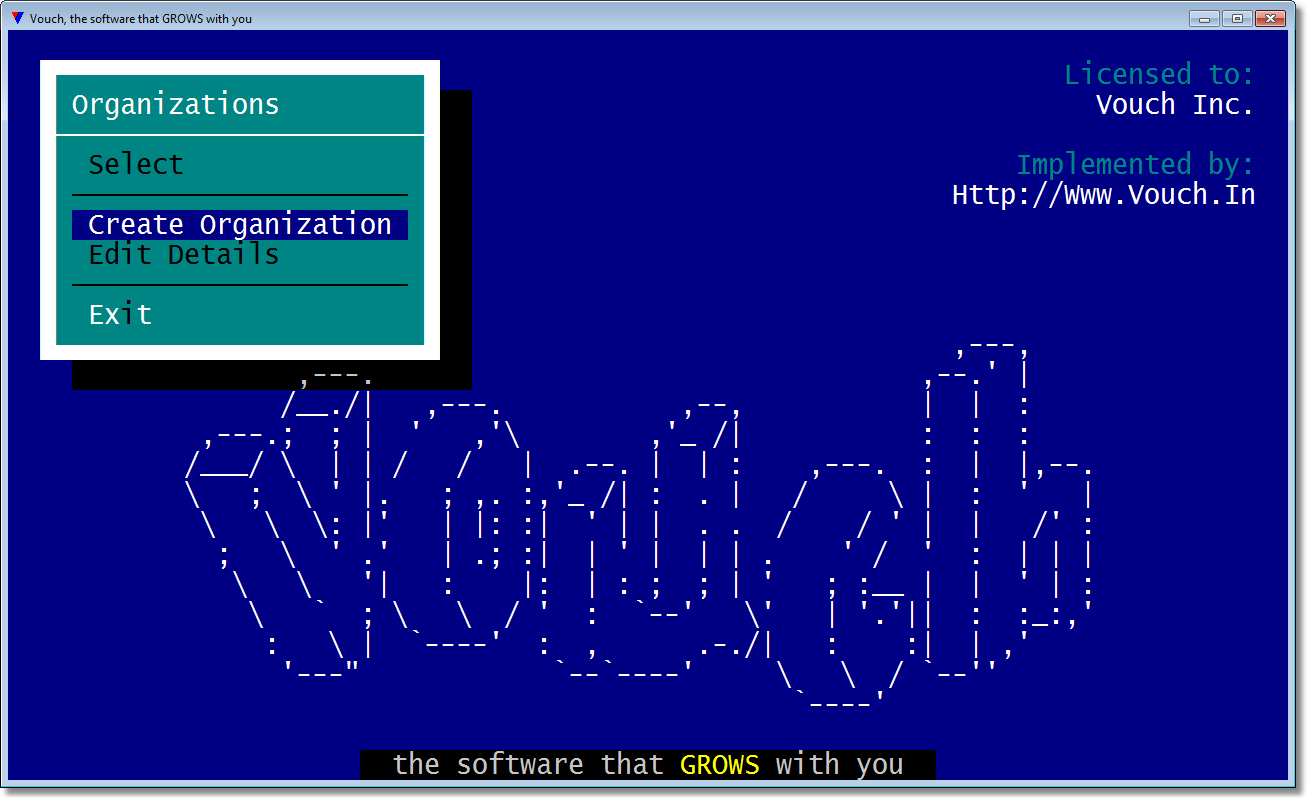
You are presented with a menu which has two active options. Cursor is staying on <Create Organization>. Just press <Enter>. |
|
27 |
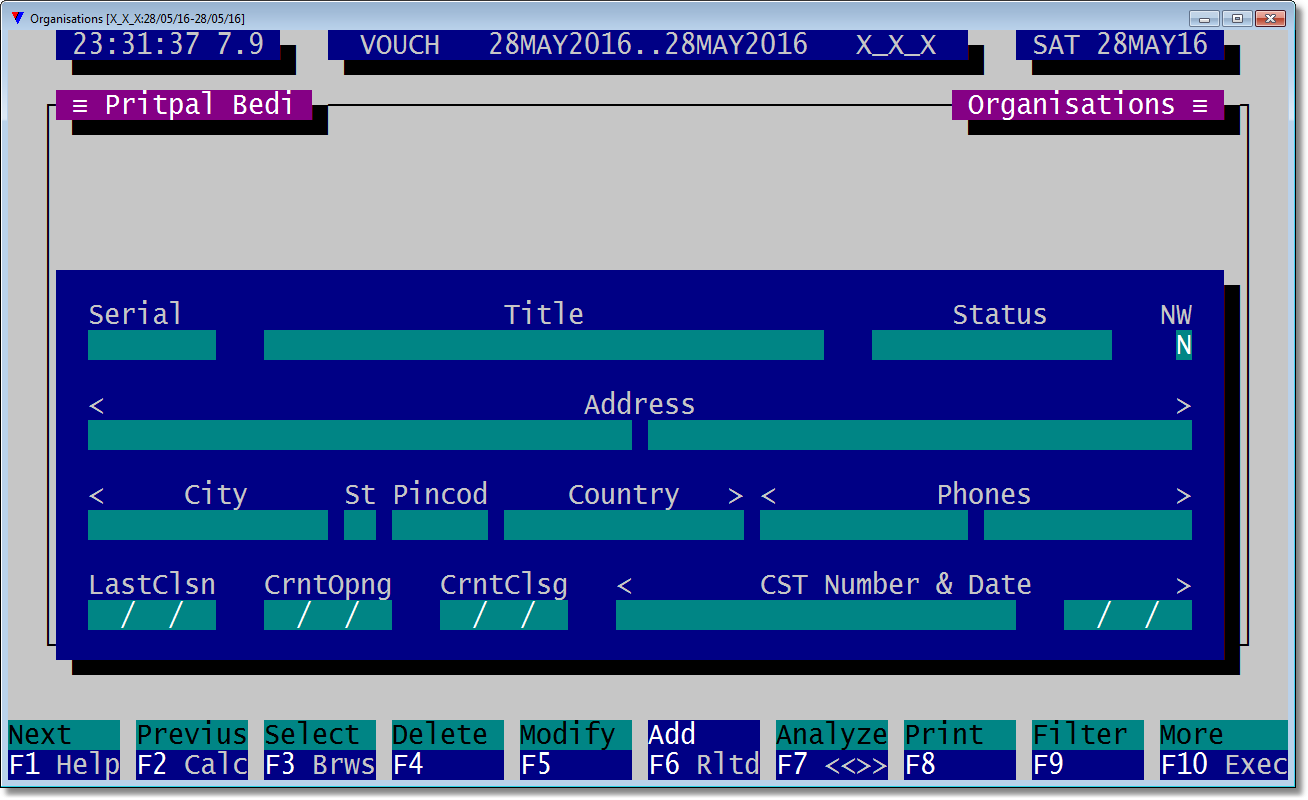
You are presented with a form to provide organization(s) credential.
The cursor is staying at the <Add> option of module-menu at the bottom. Press <Enter> on <Add> and start filling the fields with relevant information.
|
|
28 |
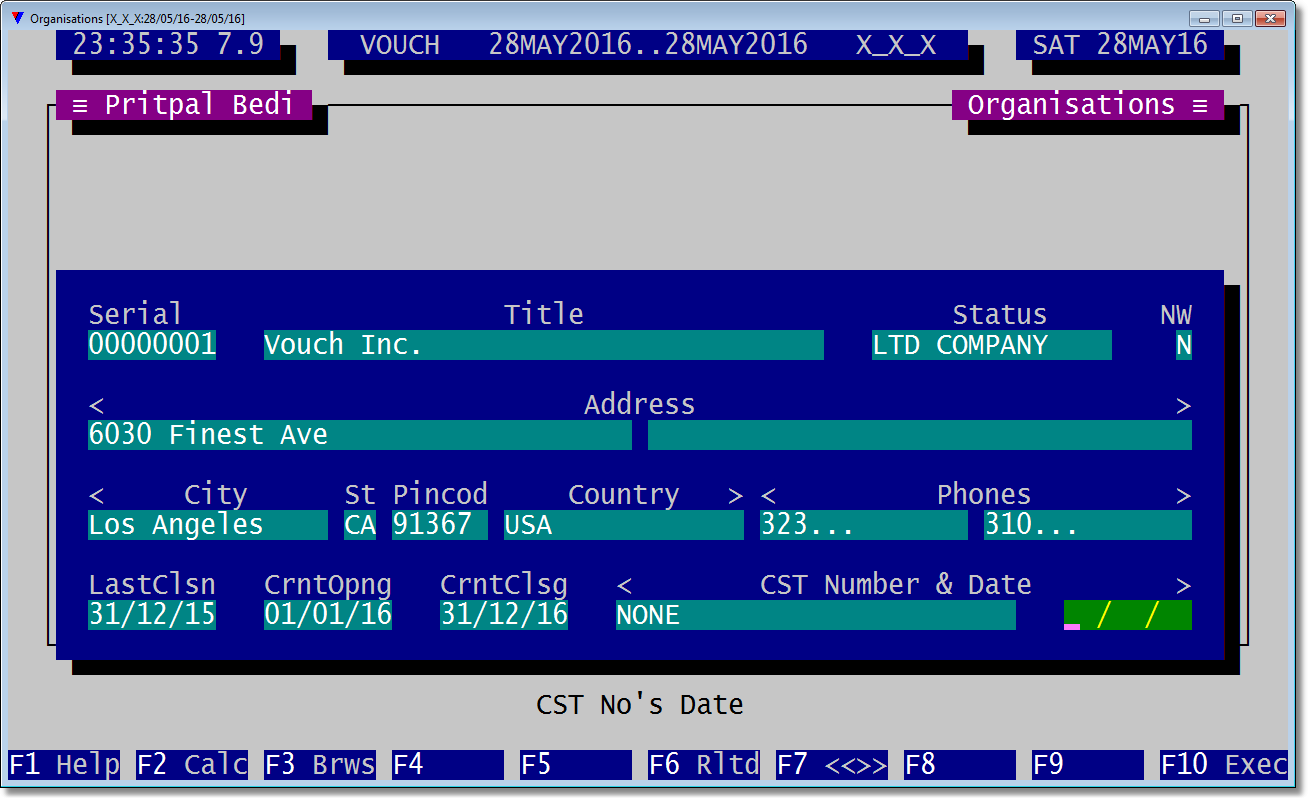
NOTE: <Title> field must be filled with caution. You have to provide exact organization name which you filled in the VCAMI 's <Organization> field. Do not misspell. Also take care of upper-lower case. A single mistake will not allow you to enter Vouch.
|
|
29 |
You will be asked to save the entered form. You have other options too. |
|
30 |
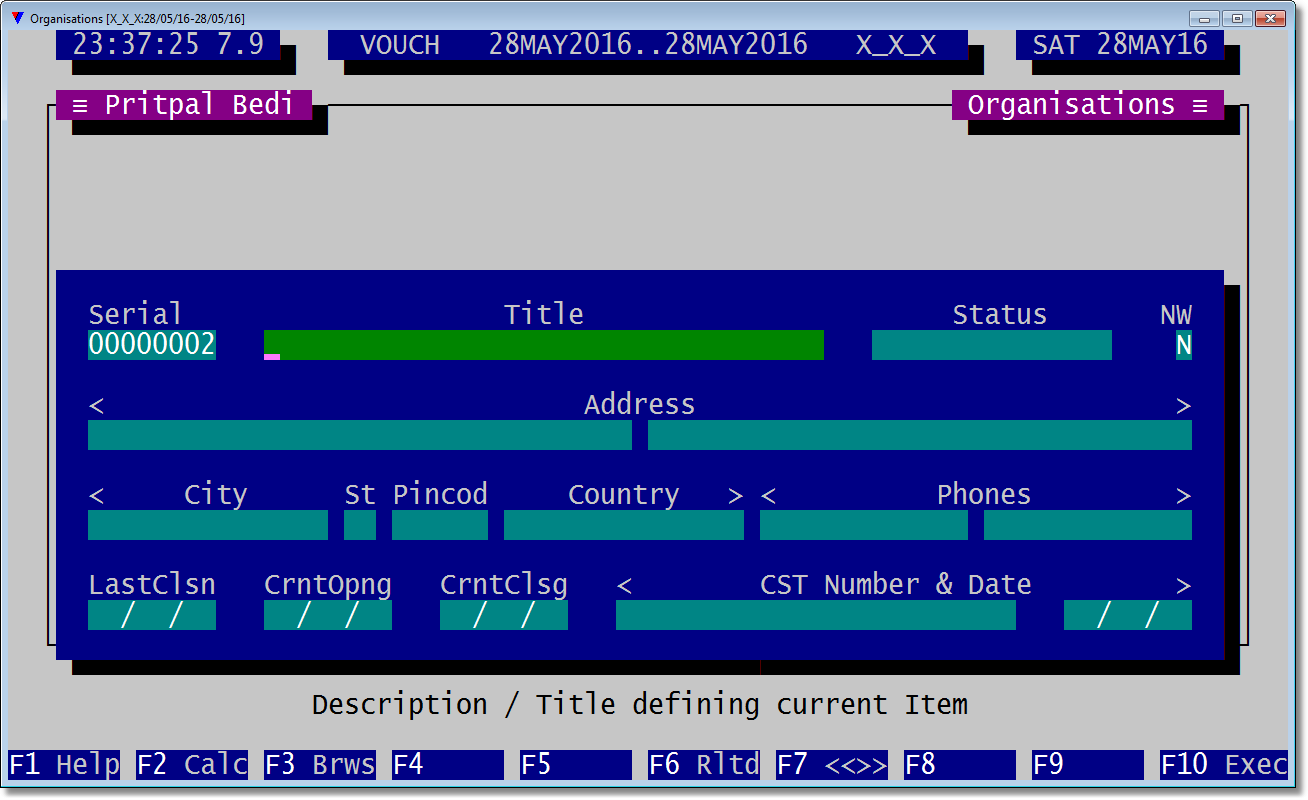
After the form is <Save>ed, form's management protocol stays at first field of blank record.
If you have provided more than one organization in VCAMI form, then you need to open all of them one-by-one. In such case enter values for all fields and <Save> at the end as you did in step#28-29.
When done, just press <Esc>. |
|
31 |
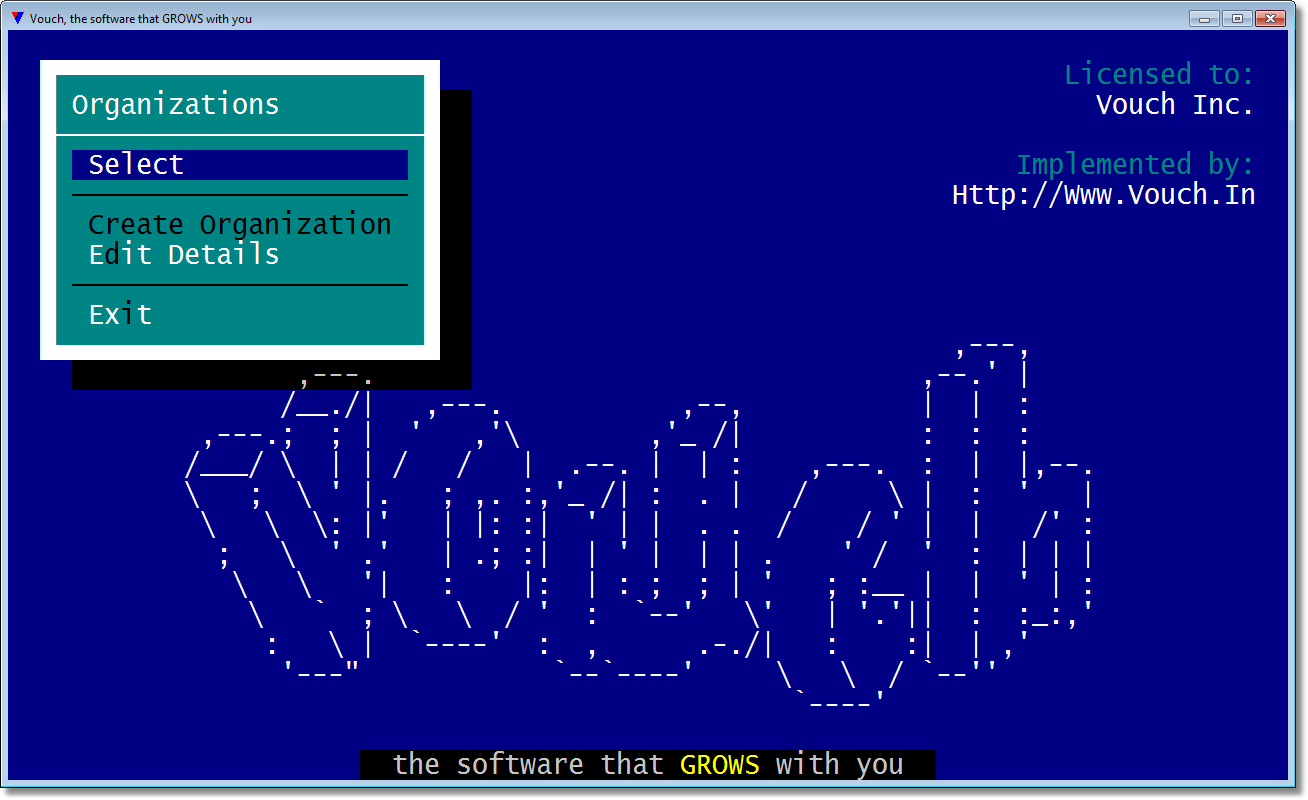
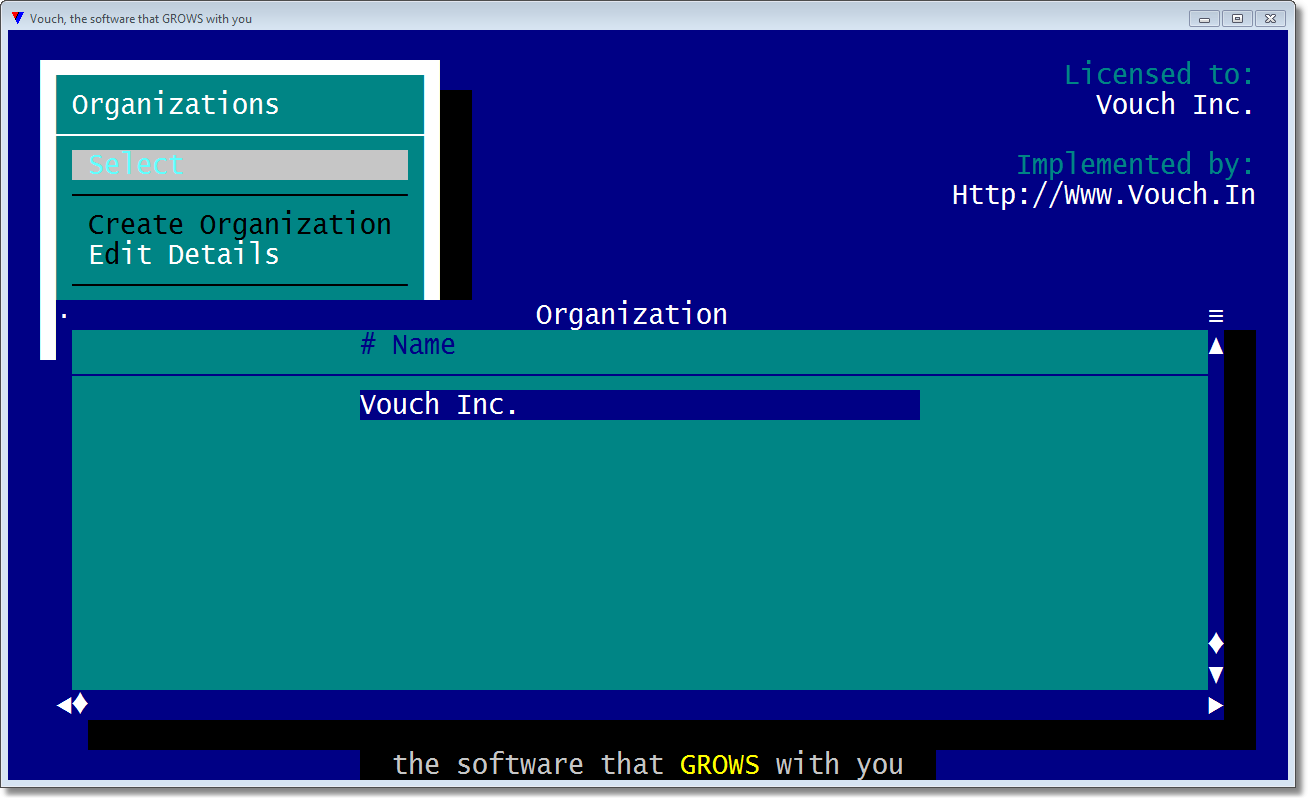
You are returned to the <Organizations> menu. <Create Organization> option is switched off and <Select> is rendered as active option.
Press <Enter> on <Select> option. |
|
32 |
A browser listing all of your organizations will show up. Select one and press <Enter>. |
|
33 |
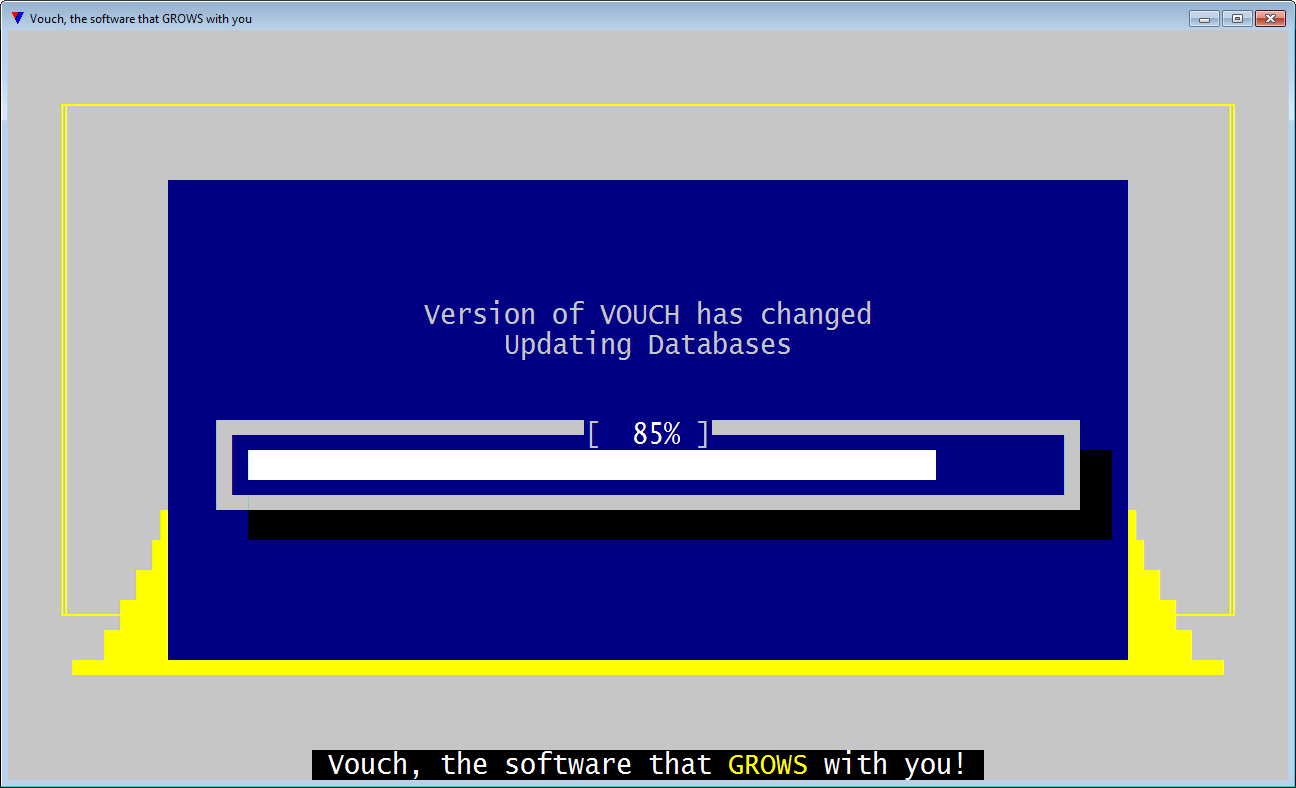
Vouch will update itself in case Vouch version has changed. The process may take few minutes depending on the underlying changes. While initialyzing first time, it will take only a few seconds as there is no data yet. This process is carried only once per update of Vouch. |
|
34 |
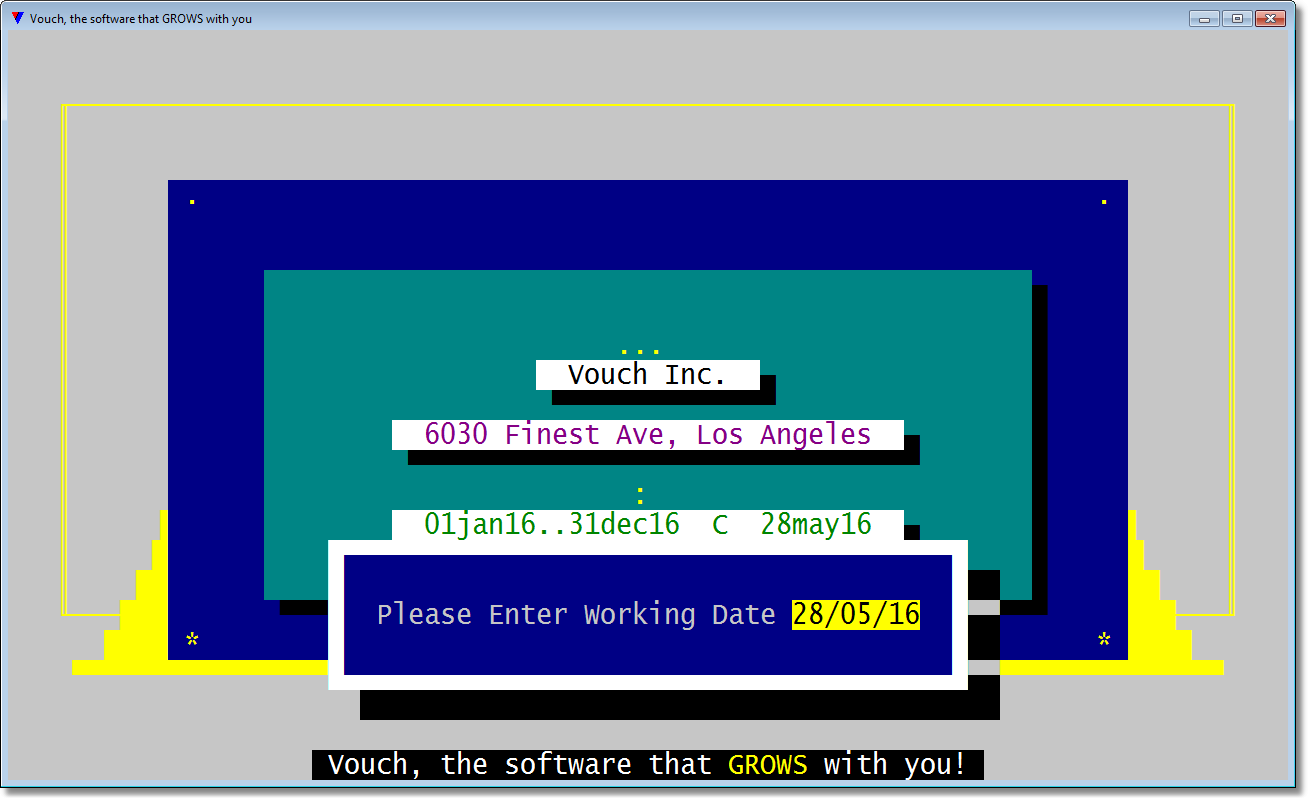
You can change current working date if you want to. Just <Enter> with/without changes. |
|
35 |
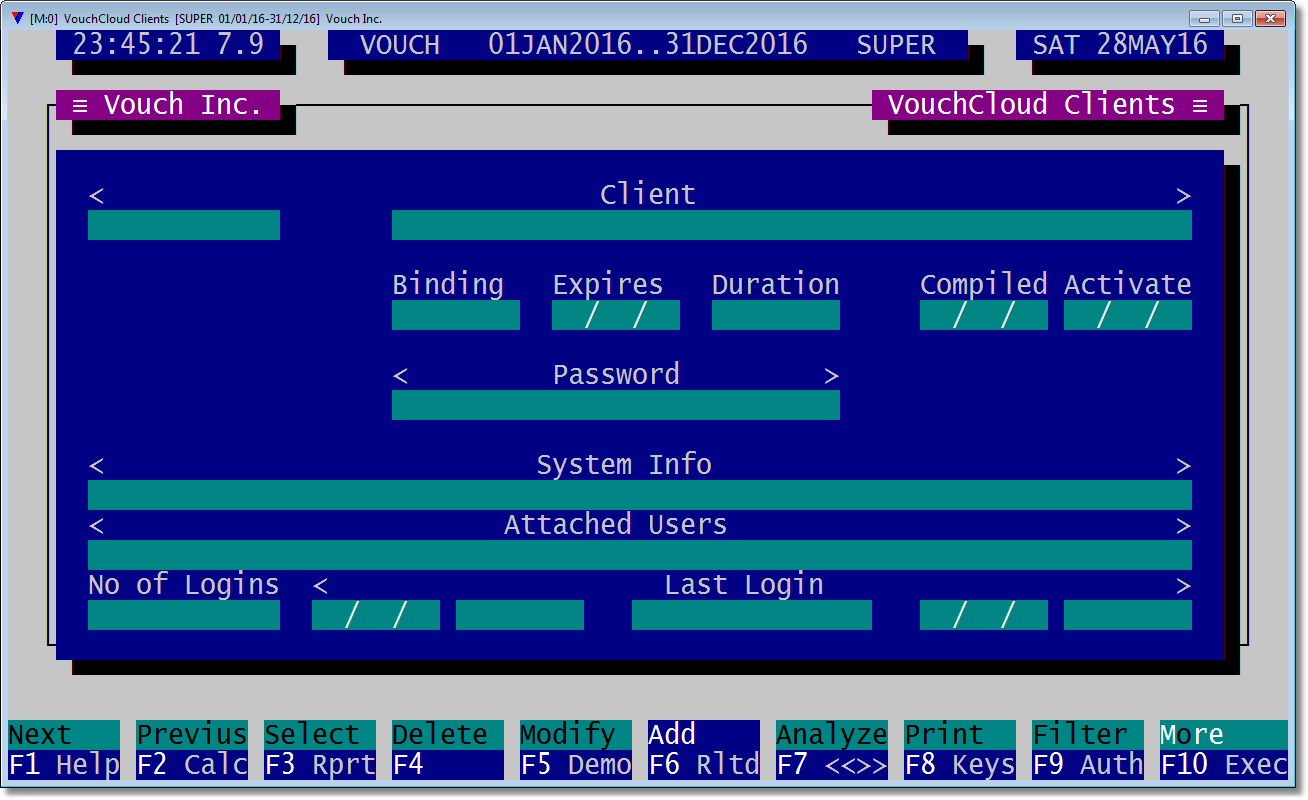
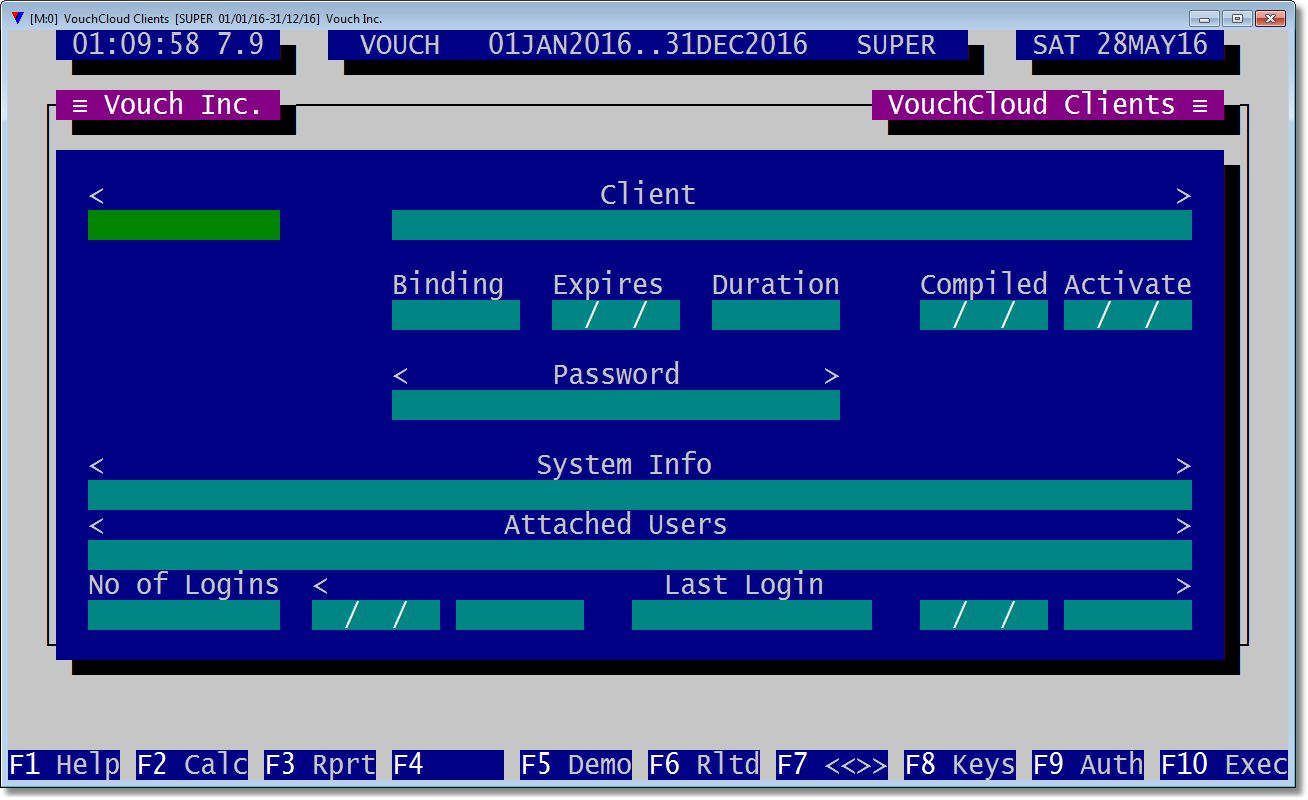
You will be carried to the form where you can create end-user keys.
For a quick walk-through we will be creating an open key which can be deployed on any machine. But you are free to create a key which is bound to the machine of your choice. The details on how to create a machine-bound key are here.
NOTE: ClientID field is what is most important. Do not use "_" (Underscore character). Give it a distinct id so that you never loose sight of its purpose. The key you will receive will embed ClientID in its name.
Client description field should be as descriptive as possible.
Binding field has two options - Open or Machine. Select Open.
Expires field will allow you to impose a cap by period. Keep it blank for now.
Duration field is reserved for future. Keep it blank.
Password field is important. You are encouraged to create every key with a password though you can keep it blank. This password will be requested as "Client's Password" if VouchClient is executed with this key.
System Info field will be filled automatically if the binding is "Open" otherwise you will be asked to provide a machine .log file. More details here. |
|
36 |
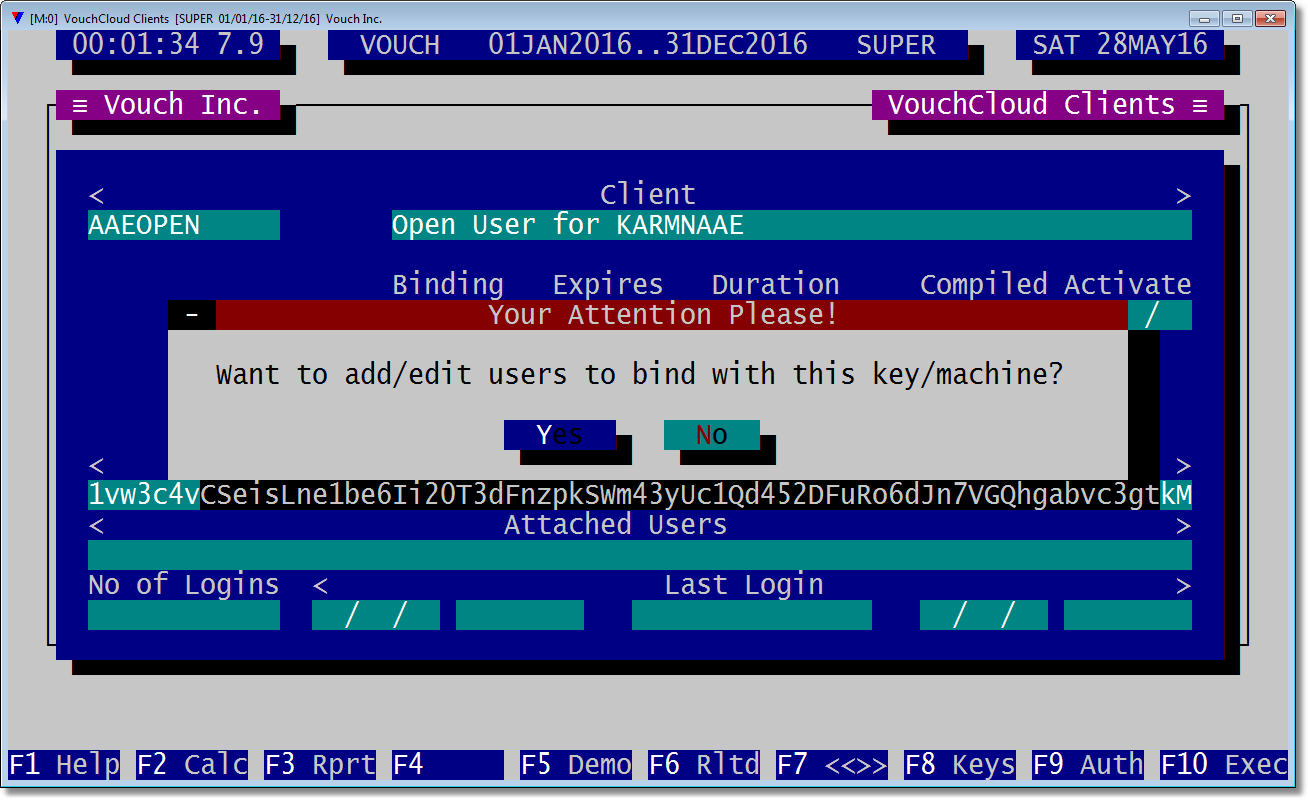
Attached Users field will seek your confirmation, and if yes, will open a selection dialog containing all current users. Select <No> for now. |
|
37 |
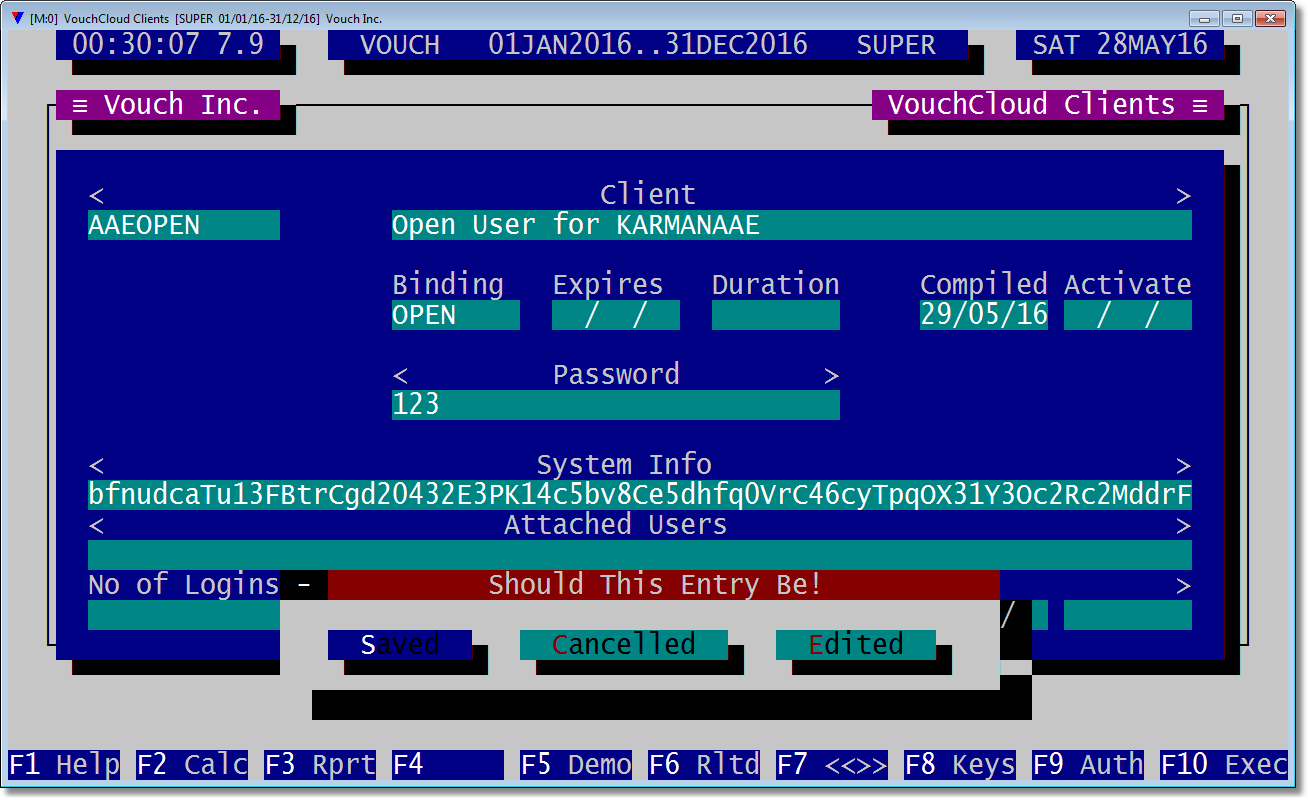
<Save> this key record. |
|
38 |
You are prompted to add another key record. Just <Esc> for now. |
|
39 |
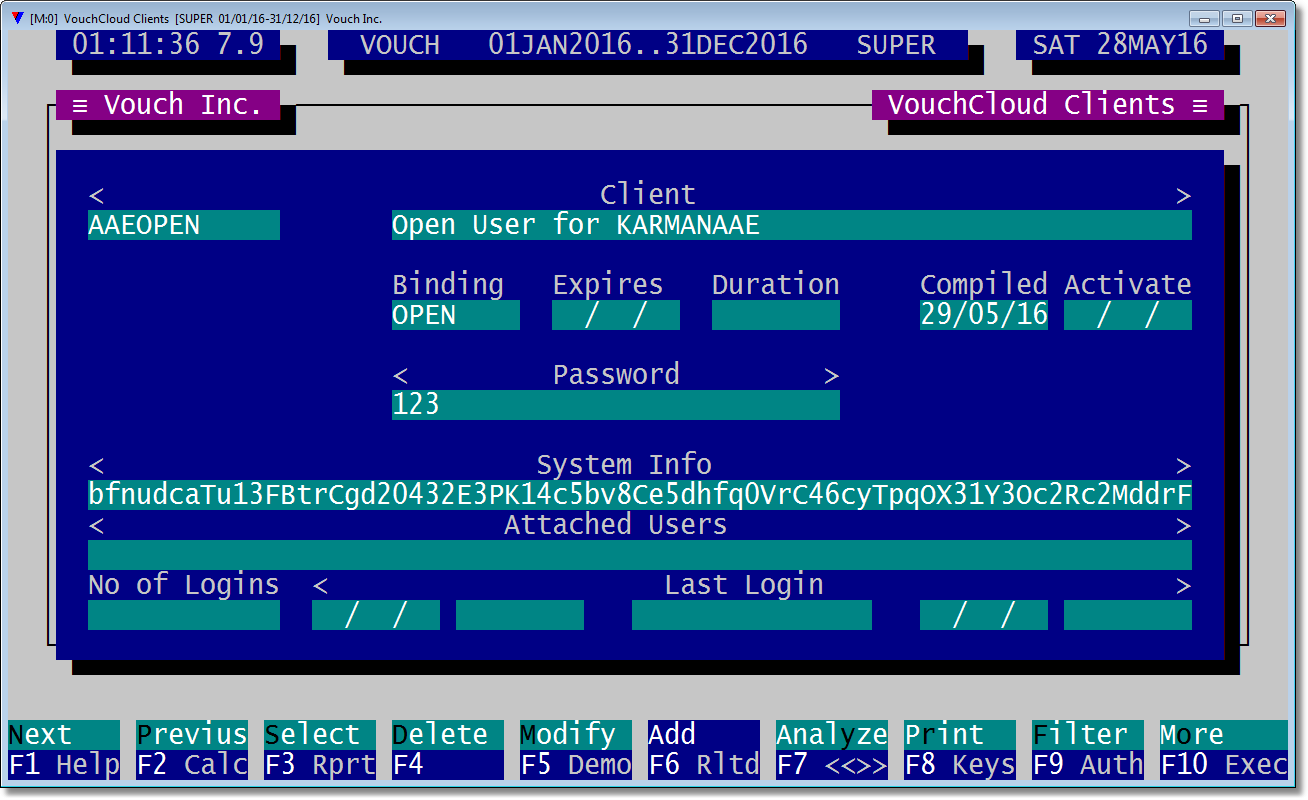
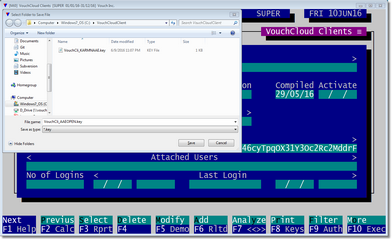
Here is a complete view of the record we just entered.
Look at bottom function keys options. <F8 Keys> will let you download the .key file. Press F8. |
|
40 |
File Save dialog will open. Navigate to the folder where VouchCloudClient is deposited and click on <Save> button.
VouchCloudClient will terminate after delivering the user key. |
|
40.1 |
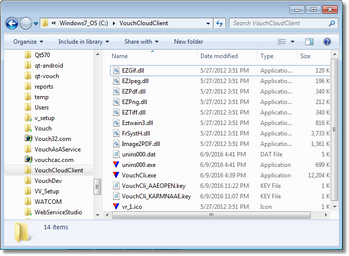
If you explore the install folder, you will see the contents more or less like in the image at the right. Now we have two .key(s). One is administrative key having KARMNAAE embedded into its name and other has AAEOPEN embedded which is a end-user access key created by admin. |
|